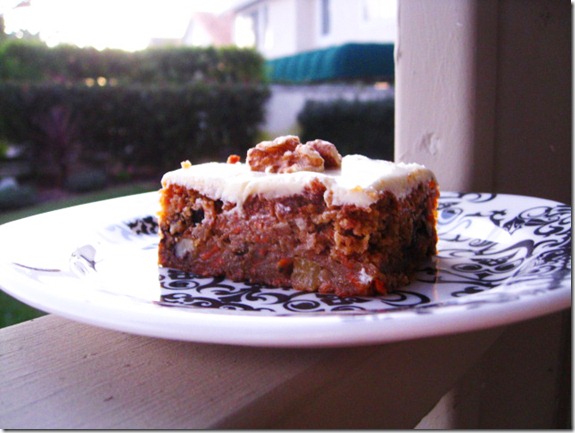
A Birthday Favorite–Recipe: Super Moist Carrot Cake

IMG_4595

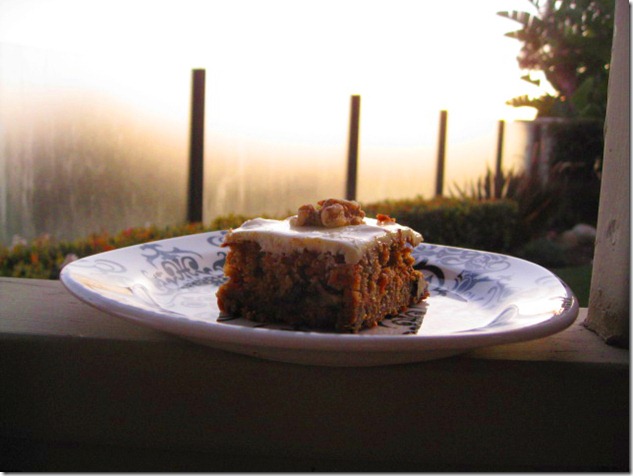
Each year for my birthday, Mum would always ask what kind of cake I wanted. While other kids would happily cry “chocolate/vanilla!” my answer was usually a bit different. Being an ardent fruit lover, I always requested a strawberry sponge cake from an Asian bakery or carrot cake.

IMG_4585

Then, I learned that other kids did not share my affection for carrot cake. Everyone would sing happy birthday, and I’d blow out the candles, only to find that I was the only one who wanted birthday cake. The first time it happened, I was upset. The next time though, I happily ate my mom’s carrot cake, while the other kids dug into a store-bought chocolate cake with tasteless frosting balloons. More for me Winking smile 

IMG_4589

Over the years, some of friends began to appreciate carrot cake as well. However, it didn’t take me long to realize that not every carrot cake tasted like mother dearest’s special version.

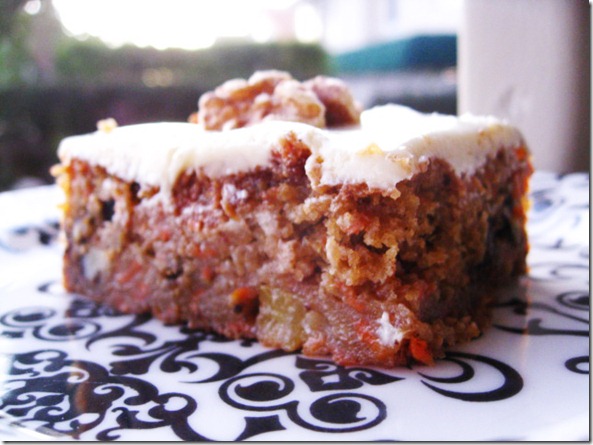
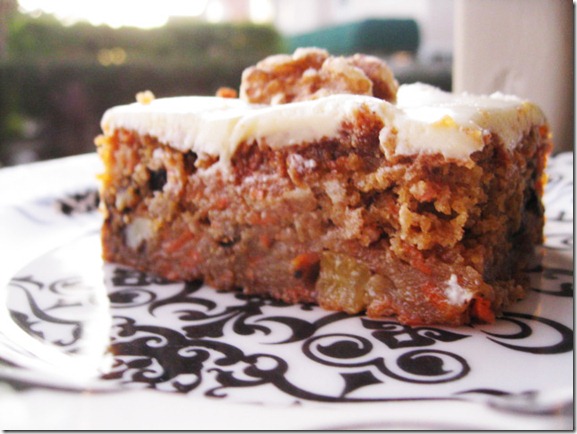
Mum always iced her walnut and pineapple studied cake with an AMAZING amaretto-cream cheese frosting. No restaurant or store-bought version could compare.

IMG_4592IMG_4593

Upon learning how to bake, I tried out this recipe and found it just as good as a I remembered. Though it’s a bit more labor intensive than the average cake (if you don’t buy pre-shredded carrots), this gem of a cake is simply to die for—without a doubt, the best of its kind.

Let’s hope my kids think so too.

IMG_4584

Super Moist Carrot Cake

Some kids will shy away from this cake, if you tell them that it contains vegetables. Solution: don’t tell them, and watch with glee as they gobble down every carrot-embellished bite. This cake is ridiculously moist and with just the right amount of spice. Slather on some of Mom’s amaretto-cream cheese frosting, and you’ll have kids renouncing the likes of store-bought cakes with frosting balloons.

Adapted from Mom (via Kathy Hunt)

Ingredients:

1 cup sugar (slightly heaping)
2 cups flour
1/4 cup oil

3/4 cup applesauce
4 eggs
2 tsp baking powder
2 tsp baking soda
2 tsp salt
2 tsp cinnamon
dash nutmeg
small can crushed pineapple
chopped walnuts
3 ½ cups carrots, shredded

Directions:

1) Preheat oven to 325 degrees. Grease a 9x13 baking pan.

2) In a large mixing bowl, sift together the flour, sugar, baking powder, baking soda, salt, cinnamon, and nutmeg. Whisk until well-combined and no lumps remain.

3) In a separate bowl, whisk together the oil, applesauce, and eggs. Add in shredded carrots and crushed pineapple.

4) Add the wet ingredient mixture to the flour mixture. Fold in chopped walnuts.

5) Pour into prepared pan, and bake for 55 minutes. Use a toothpick to check for doneness. Let cake cool completely before frosting.

Cream-Cheese Amaretto Frosting (the most delicious frosting EVER)

Ingredients:

1 cup butter

1 8-oz block neufchatel lite cream cheese

1 tablespoon amaretto (or 1 tsp almond extract)

3 cups powdered sugar

Directions:

Using a mixer (or a LOT of elbow grease), beat together butter, cream cheese, and amaretto. Stir in powdered sugar and continue beating until fluffy.

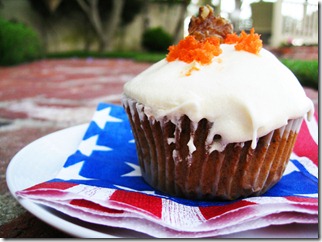
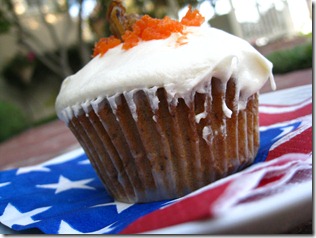
Alternatively, you could also make this into cupcakes for fun-sized deliciousness.

You’d probably have to reduce the baking time to about 18-20 minutes, but I can’t remember exactly. Open-mouthed smile

IMG_6607editedIMG_6618

Worse comes to worse, you might end up with carrot cake cake batter.

Oh man, that would be a happy birthday, indeed.

IMG_4588

Recipe: The Best Banana Bread EVER. Period.

Somewhere, in the dark depths of my mom’s recipe stores, there sits an old, yellowed notecard. In my mom’s borderline-indecipherable handwriting, the words, “Beth’s Friend’s Banana Bread” are scrawled across the top. I have no idea who Beth is. And I most certainly don’t know Beth’s friend.

What I do know, however, is that she made some KILLER banana bread.

The best you will ever taste.

IMG_4167_new

Mother dearest has been baking this recipe for as long as I can remember. Both she and Dad are wonderful cooks, but this wonderfully moist loaf of banana-y goodness is, arguably, her specialty. In fact, she keeps that old yellow notecard lovingly tucked in the “B” section of her recipe box, but I can’t remember the last time she used it. Even amidst working full-time and raising a family, she manages to know by heart how to make the best banana bread known to man.

Of course, Mum also had time made time to teach me the “secret family recipe.” Toddling around the kitchen, I would ask her, “Mumma, when are you going to make banana bread?”

IMG_7558_new

She would respond, “As soon as the bananas are really ripe. Want to help me?”

So brother and I would wait, getting excited when we finally saw the tell tale sign—3 dappled bananas, deep golden yellow with kisses of black.

Soon after, we’d be fighting over the last lick of batter, while we willed 70 minutes to go by faster. And then, magic: warm banana bread with a crispy gold-brown crust and sweet, luscious interior. Devoured, without fail, within 24 hours.

IMG_7535_New

As soon as I learned how to bake and use the oven, I made a point to make Mom’s banana bread. (Actually, it may have been the first thing I ever baked?!). To this day, I still make her banana bread, both for family at home and friends at Georgetown. Regardless of where or when I make the bread, it never seems to disappoint.

And regardless of how many times I make it, I still think of that yellowed notecard, of Beth, of Beth’s friend, and perhaps most importantly, of Mom and I making banana bread together.

IMG_7536_new

The Best Banana Bread Ever (a.k.a Beth’s friend’s Banana Bread)

My mom has been making this bread for as long as I can remember for good reason—it never lasts more than a day in our house. Always a huge crowd pleaser, this banana bread is sweet but not too sweet and seriously addictive. The addition of walnuts adds a perfect crunch that I (as well as Mom) highly, highly recommend. I’ve never found a better b-bread, and I doubt I will. If you’re still on the hunt for that illusive “best banana bread ever, I recommend giving this one a go!

Adapted from Mom’s banana bread recipe

(Can be gluten free, vegan, and whole-grain)

3 large (or 4 small) overripe bananas (the blacker, the better)

1/2 cup sugar

1 egg [Note: To make this vegan, try using 1 flax egg or 1/4 cup pureed silken tofu]

1/4 cup melted butter (or margarine, vegan is fine)

1 1/2 cups flour [Note: See comments below for GF/whole grain option.

1 tsp baking soda

1 tsp salt

1/2 cup walnuts, chopped

Directions:

1) Preheat the oven to 325 degrees, and grease a 9x5 loaf pan.

2) Mash the bananas in a bowl with a fork, ricer, or potato masher until smooth. Some small lumps are okay. Beat in sugar, egg, and butter/margarine

3) Whisk in flour, baking soda, and salt, stirring until just combined. Fold in chopped walnuts. Pour batter into loaf pan. Bake for 70 minutes, testing doneness with a toothpick.
Easy as 1-2-3!

…But just incase that was too much for a Wednesday, let’s learn how to make banana bread old school—just like how Mom showed me.

Grab a bowl. You want it to be fairly big so you can properly smush all the bananas.

IMG_4524

Using a fork, ricer, or potato masher (my four-year-old self’s personal favorite), smush the bananas until smooth. Got a few lumps? No problemo. This is art, not science.

Add in all da wet stuff. Feel free to use an egg substitute and vegan margarine/buttery spread instead, if that’s how you roll. With only 1/2 cup of sugar, we can call this a healthy-ish endeavor.

IMG_7949

Now for the dry ingredients. Mix in the flour, baking soda, and salt until everything is well-combined, but don’t overmix. Mom always used regular AP flour, but if you’re looking for a gluten free or whole-grain option, try using oat flour.The result will be slightly more dense and grain-y but not in a bad way. If this is your first time making it, I’d recommend trying the AP flour, just so you can try Mom’s traditional recipe.

IMG_7936

Fold in the walnuts. You could skip this, but the nuts really add an extra oomph to this bread. Do you really want to miss out on oomph? Didn’t think so.
Bake at 325 degrees for 60 minutes. Resist the urge to peak. That’s Dad’s job.

Enjoy!

This Stuff Will Change Your Life – Recipe: Walnut Butter

IMG_7924 You think I’m kidding…………..

But I’m not.

This stuff is like crack. Only better.

Why are we talking about drugs? Let’s talk about walnut butter.

It’s easy. Like super dee duper easy. There’s blades involved, so leave the kids at home for this soiree. That means more crack for you anyway.

The story begins something like this.

IMG_7936

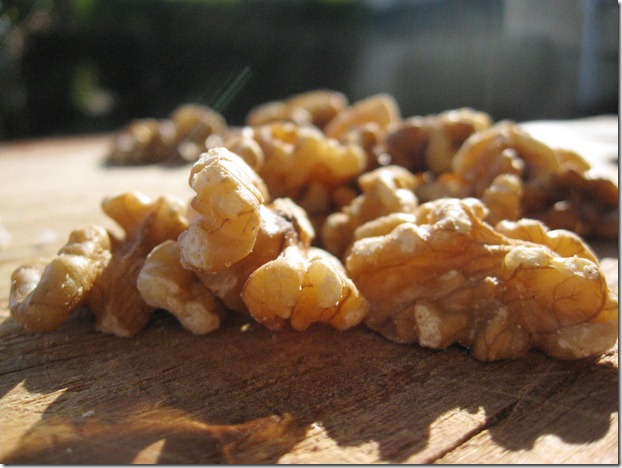
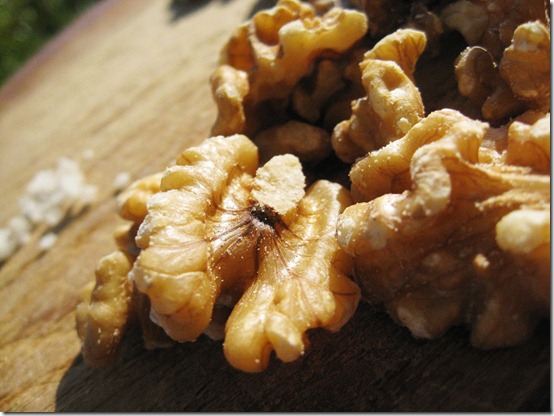
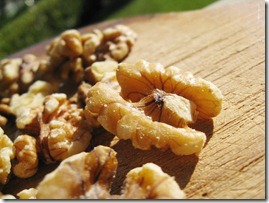
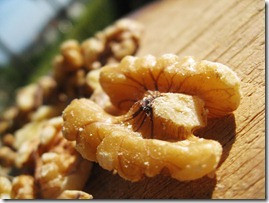
Walnuts. Get ‘em from Costco or a bulk bin or online or from the walnut dealers in the back alleys. Just get ‘em, and I won’t ask questions. Kay?

IMG_7931

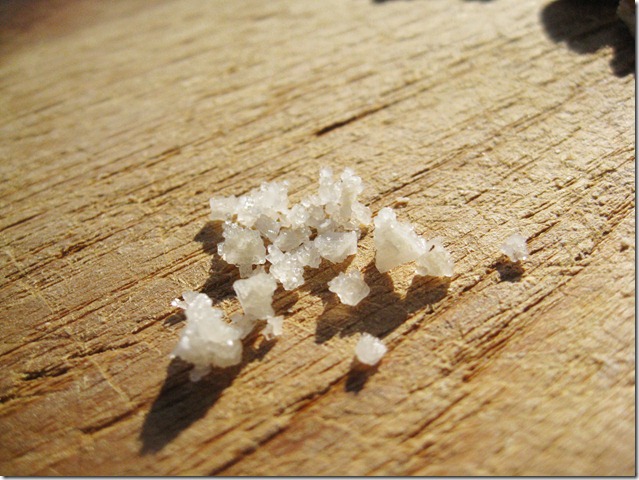
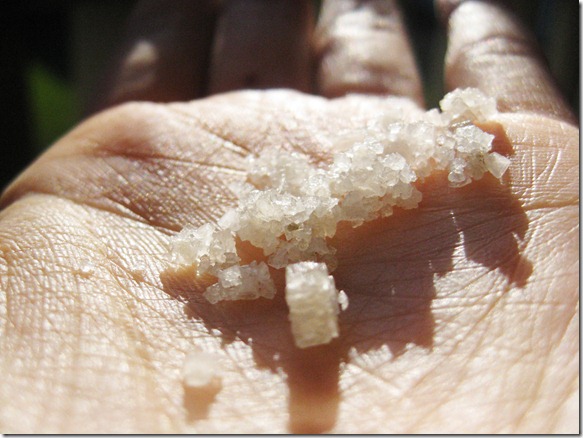
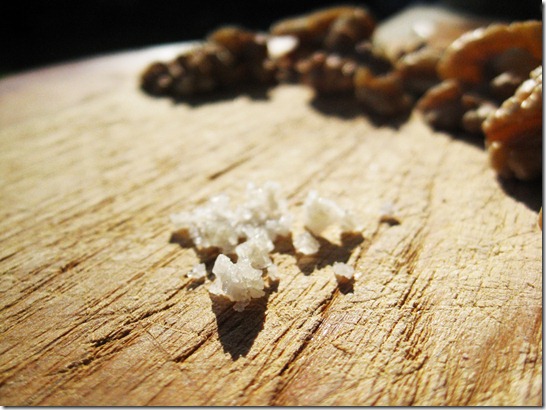
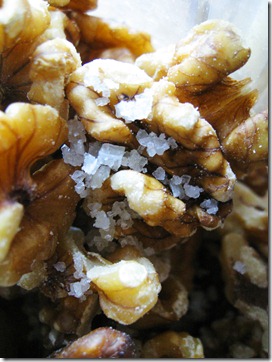
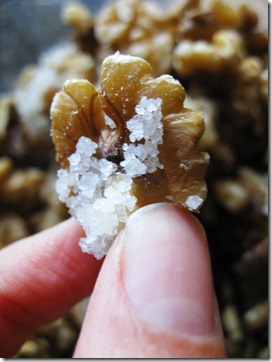
Now, onto the salt. Move over sugar, there’s a new lover in my life. Look at those pearly whites.

Can we have some honest dialogue about salt? It’s important.

IMG_7935

I know it’s tempting to use regular ‘ole salt—like the kind that comes in Big Gulp-sized containers, but please don’t. You’ll break my heart.

This isn’t even food snobbery; this is me telling it like it is. Plain table salt will make your beautious nut buttah taste kinda like well, crap. We don’t want that. Crap is already plentiful enough in this world anyway.

You don’t have to buy salt that is worth more than diamonds, just something a little classy.

IMG_7928

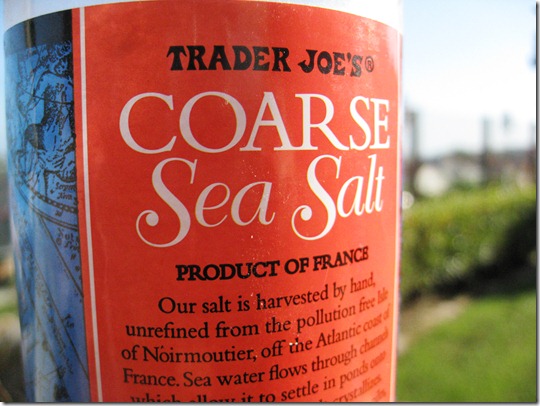
I went with Trader Joe’s coarse sea salt. Apparently it’s from off the Atlantic coast of France. Buttttt, I wouldn’t worry too much about that.

If you prefer mountainous salt not from Europe, that’s none of my business.

All I ask is that you try to get the good stuff.

IMG_7932

Please? Do it for me.

IMG_7937

Okay, now grab your walnuts and salt.

IMG_7929IMG_7926IMG_7939IMG_7940

Take a deep breath. And get ready for this WILDDDDDDDD ride.

Nothing (or should I say nut-thing?) but smooth sailing from here.

IMG_7955IMG_7953

Walnut Butter

This stuff is magical. Like all your dreams came true in one fell swoop. Somehow, the simple combination of walnuts and some good (sea) salt makes for an absolutely euphoric combination. The walnuts impart a buttery flavor and velvety smooth texture, while the sea salt provides an intricate end note. Let’s just call it peanut butter’s sophisticated older sister.

Yield: 2 cups walnut butter

Ingredients:

3 cups walnuts

3/4 tsp coarse sea salt or 1/2 tsp fine sea salt (USE GOOD SALT!)

Directions:

  1. In a food processor or high speed blender, add the walnuts and salt.
  2. Process for 10-15 minutes, scraping down the sides as necessary.
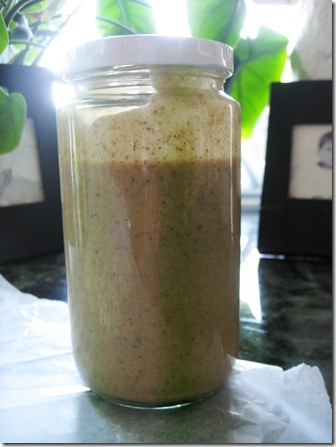
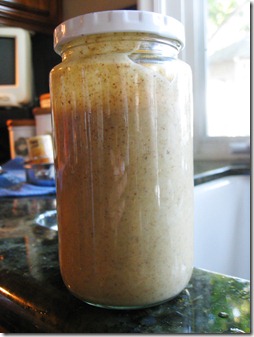
  3. Pour nut butter into a jar and refrigerate.

It really doesn’t get much easier than that, but just in case you’re feeling frisky today, how about a little photo tutorial?

IMG_7951

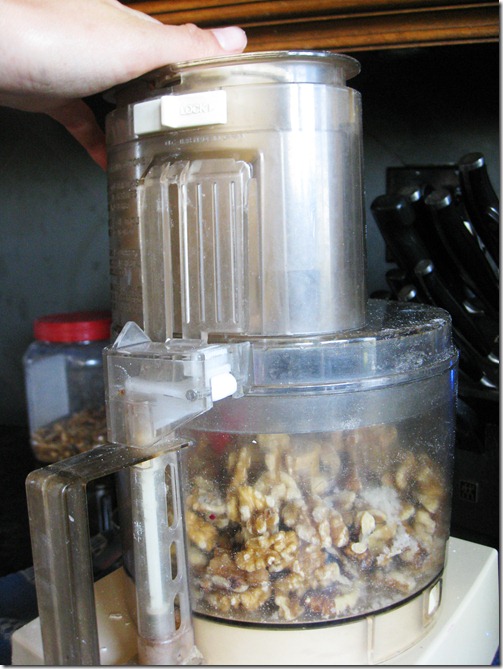
Combine nuts + salt in your food processor.

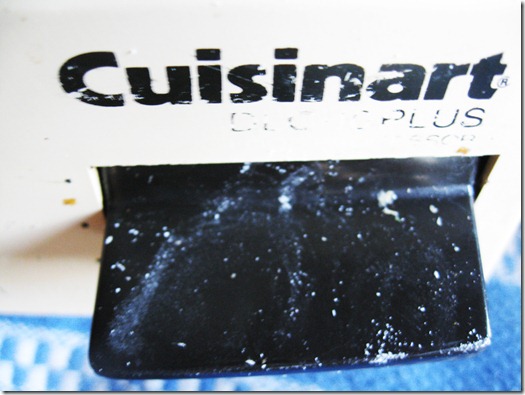
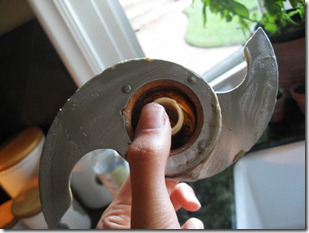
I use a Cuisinart that might as well be classified as a “dinosaur.”

(P.S. I still love you, Dino.)

IMG_7957

Can’t you almost make out the word Dino? At least it’s a plus…

I digress. I need to get my priorities straight.

IMG_7956.

Snap on your lid, and start the blending.

Wheeeeeeee..kinda like a county fair ride that would make you puke.

Sorry, bad visual. Like I was saying…

IMG_7958

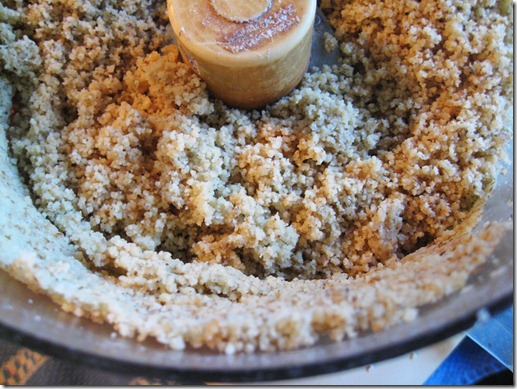
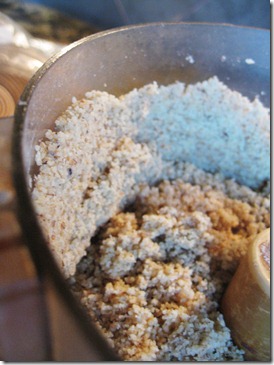
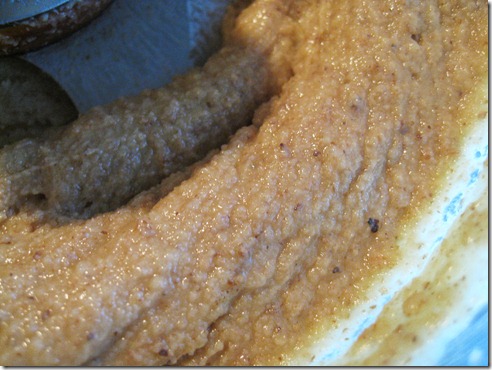
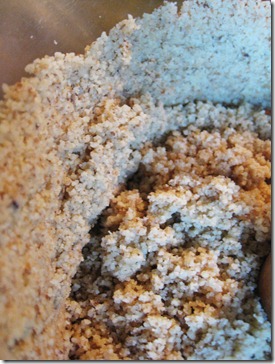
After a few minutes, it begins to look really crumbly.

IMG_7962

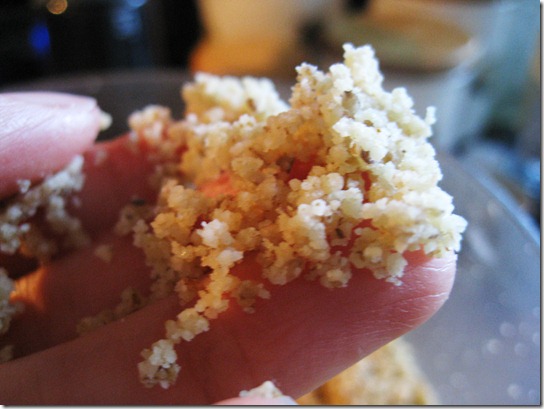
Similar in texture to wet sand. Only much better tasting.

IMG_7959IMG_7960

As you continue to blend, the nut butter may start to climb up the sides. Just stop processing for a moment and scrape down the sides before continuing to blend.

IMG_7965IMG_7966

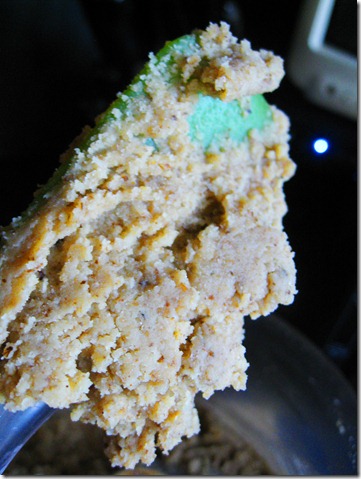
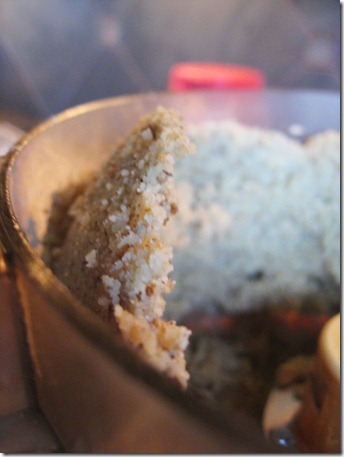
In the next few minutes, it should begin to look a lot like cookie dough.

Did someone say COOKIE DOUGH?!?!!??!!?

That’s another story for another day.

IMG_7969

IMG_7972IMG_7975

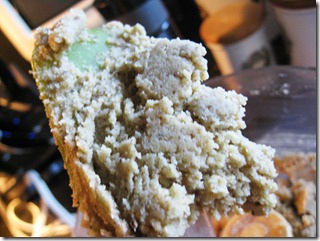
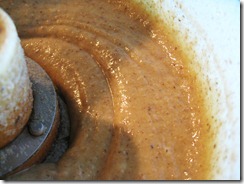
Soon, the butter will get to be more liquid-y but still really thick. Keep chuggin’ along.

IMG_7980

At last, you’ll start to get a smooth-ish consistency. You’ll be tempted to stop and to ignore these very words, but trust me, keep going. The nut budd-uh will thicken when placed in the fridge.

IMG_7983IMG_7987IMG_7991IMG_7997

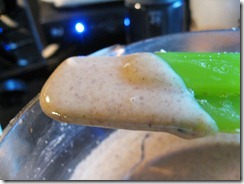
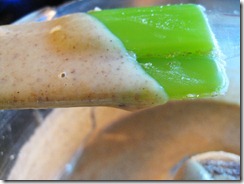
Finally, it should come to a semi-drippy consistency. For me, this is perfect for drizzling over oatmeal or a sweet potato, but if you’d like it a bit thicker, stop a couple minutes early.

Now for the best part—licking the food processor!

Don’t look at me like that. I know you’ve done it (or at least thought about it) too.

IMG_8000IMG_8002

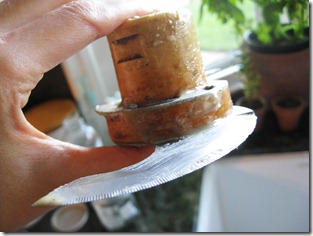
Just please, for the love of the world, do NOT leave the blade in.

I don’t think insurance covers “food processor incidents.”

IMG_8007IMG_8003

Whew, what a marathon post. If you’re still reading this, I have two things to say to you:

1) Kudos for making it all the way here!

2) Stop reading this, and go make walnut butter already. Top one of these with a spoonful and die of the euphoria.

It’s pretty much life-changing.

You still think I’m kidding…………………..but I’m not.

You can thank me later. Smile

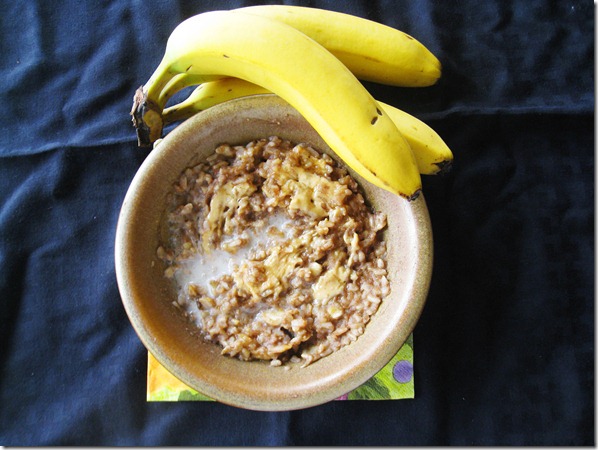
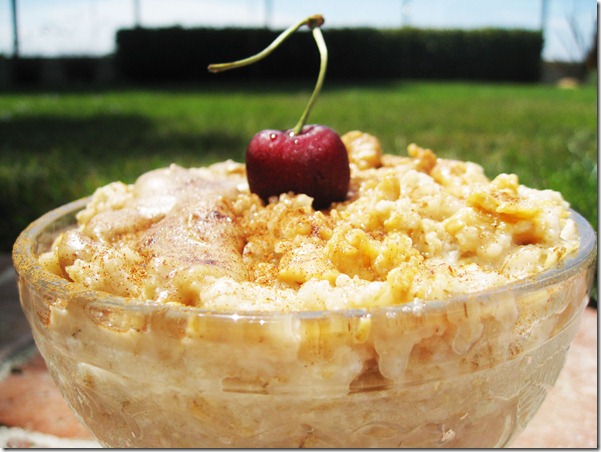
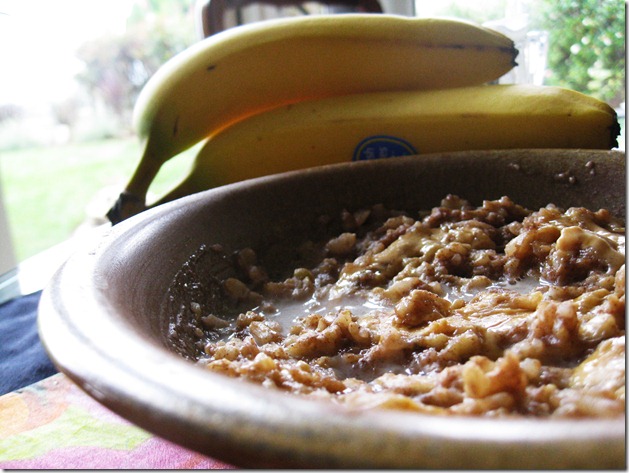
Recipe: Caramelized Banana Bread Rice Pudding

<<Note: This is actually also serving as the Dining Hall DIY sample post that I’m submitting as a part of my Contributing Writer Application for Small Kitchen College!>> IMG_7590_new

You skip into the dining hall, waltzing with excitement after your latest encounter with “The Cute Boy Who Shalt Not Be Named.” And then you stop in your tracks—hit by the tsunami of sloppy joe aroma that, unfortunately, you know a little bit too well.

Le sigh.

After finishing your dreaded, wannabe (wo)manwich, you stare ruefully at the empty plate before you.

At this point, you’ve come to accept that there is only one type of food that can possible cheer you up: dessert.

IMG_6910_new

Oh yes, dessert—da King Kahuna, the Elvis, the knight in shining armor, the love of your life and perhaps mine as well. But which dessert to pick?

Cake? Not New Year’s resolution approved.

Cookies? You can do better.

Soft Serve? Problem: Nameless cute boy does not dig ice cream mustaches.

Caramelized Banana Bread Rice Pudding? Oh *&%#! Swoooooooooooooooooooon.

Innocently sexy. Gourmet and guaranteed mustache free.

Oh, and did I mention perfect for sharing with “The Cute Boy Who Shalt Not Be Named”?

IMG_7577_new

Lexi is a freshman at Georgetown University, where she is considering an International Business/Management double major and proving that not all business school students have to end up on Wall Street. A nutrition aficioncado and laid-back vegetarian, she is a connoisseur of healthy baked goods, lover of farmers’ markets, and expert in freakishly cheesy puns and one-liners.

Caramelized Banana Bread Rice Pudding

Serves 1

Sweet, gooey, and banana-y, this rice pudding will surprise your friends with its simple deliciousness and impressive nutrition profile. Because it combines whole grains, potassium-rich fruit, and healthy fats/protein, it also makes a wonderful breakfast that will keep both your snobbie inner foodie and stomach going for hours.

Ingredients:

  • 1 cup brown rice, cooked
  • 1 medium ripe banana, sliced
  • ½ cup milk (Note: I use almond or soy milk, but feel free to use any kind you like!)
  • 1 ½ tsp cinnamon plus extra for topping
  • Pinch salt
  • 1 tbsp nut butter (e.g. peanut butter), for topping

Directions:

1) In a medium bowl, combine all ingredients except nut butter.

2) Microwave for 2 ½ minutes on high. Remove and mash until the mixture is mostly smooth. (Some small banana bits are okay, but try to mash the big chunks.)

3) Microwave for additional 30 seconds to 1 minute, or until mixture is warm and pudding- like. Add an extra drizzle of milk and stir, if the mixture is too thick for your liking.

4) Top with a sprinkle of cinnamon and nut butter, and enjoy!

When I’m not away at school, most of my rice puddings begin more like this…

IMG_7662_new

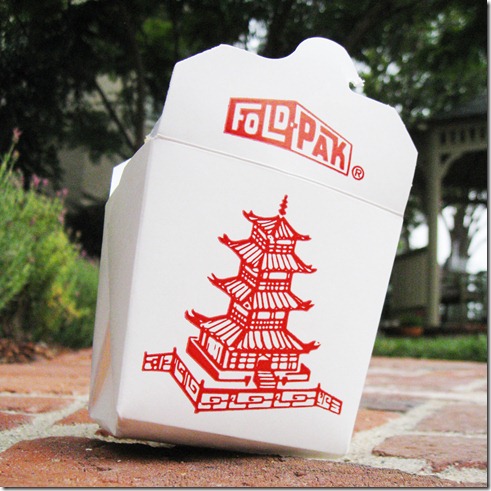
The almighty to-go box.

After our family goes out for Asian food of some sorts (usually Thai), we end up with a heaping box full of brown rice leftovers. By that, I mean we always seem to end up with a disproportionate amount of rice: curry.

Thanks family…

And let’s be real now—a girl can only pretend she’s Mulan eating plain rice for so long.

Then again, I guess that means more Caramelized Banana Bread Rice Pudding for me!

IMG_7587_new

Mwhwhahahaha Smile

Have a wonderful New Year’s Eve!

Recipe: Pumpkin-Quinoa Granola

There’s plenty of mornings where breakfast goes something like this: IMG_4214

No time to make oatmeal, no bread to make toast, no willpower to make pancakes.

Then suddenly, a light shines down from the heavens and spells C-E-R-E-A-L.

5.12749 second later, almond milk is whipped out of the fridge and applied to cereal like a category 5 hurricane.

Talk about inclement weather.

IMG_4251

But just like pizza, I don’t like any ‘ole cereal. Nope, my bowl of cereal (which is usually a melange of multiple varieties) has to meet some pretty strict requirements.

It has to be:

    1. Delicious, duh!
    2. Both of good quantity and quality
    3. Capable of keeping me as full and energized for multiple hours

IMG_4201

I generally gravitate towards “healthy” cereals, but such cereals often a) taste like cardboard and/or b) are full of wacky ingredients that hardly qualify as healthy.

Of course, their sugary counterparts like Lucky Charms and Trix don’t fare much better. Though addictively munchable, these cereals neither offer much in the way of nutrients nor keep me satiated for more than a few minutes.

Then there’s granola. In a wonderful category of its own.

IMG_4204

Sweet and oh-so-addicting. Unfortunately, it’s not so impressive in terms of bang-for your-buck, as it can be quite high in sugar and oil. Maybe a good dessert but as for breakfast?

Not so much.

IMG_4203

Lucky for you and me, granola is easy to make and unfussy enough that you can tailor it exactly to your own desires. Oh yes, your desires.

I do believe I just made my version of granola sound sexier than a Victoria’s secret fashion show.

Don’t tell me you’ve never dreamt about a good bowl of granola. Seeing as you’re still reading this, I’m guessing you have.

IMG_4201

Because how is this NOT seducive:

High protein and low sugar? Check.

Full of REAL ingredients? Check.

Filling, delicious, and charmingly seasonal? Check-check-check.

IMG_4194

Sexy? Oh you know it.

Pumpkin-Quinoa Granola

I’m not a big fan of additional “stuff” like nuts and berries in my granola, so I left out the pepitas and cranberries from the original recipe. However, feel free to toss a handful in if you so desire; granola is hardly tempermental. To make this a little bit healthier for a power breakfast, I also reduced the sugar a tad and added quinoa for a whole-grain protein boost. The result is even more addictive and crunchy than store-bought granola, minus all of the ill compromises.

Slightly adapted from Two Peas and Their Pod, originally from Baking Bites

Ingredients:

  • 5 cups rolled oats
  • 1 cup quinoa (uncooked)
  • 1 teaspoon pumpkin pie spice
  • 1 teaspoon cinnamon
  • 1/4 teaspoon nutmeg
  • ¾ tsp. salt
  • 1/2 cup brown sugar
  • ½ cup (heaping) pumpkin
  • ¼ cup applesauce
  • ¼ cup maple syrup
  • 1 teaspoon vanilla extract

Directions:

1. Preheat the oven to 325° F, and grease a large baking sheet.

2. In a large bowl, combine oats, quinoa, spices, and salt. Mix until all dry ingredients are evenly distributed.

3. Whisk together brown sugar, pumpkin puree, apple sauce, maple syrup, and vanilla extract until smooth. Pour wet ingredients into oat mixture, stirring until oats and quinoa are well-coated.Spread the mixture onto the prepared baking sheet.

4. Bake for 20 minutes, and then, remove the pan from the oven and stir. Bake for an additional 15-20 minutes, or until the granola is golden and crisp (but not hard!). Let cool completely. Store in an airtight container.

Tip: Take the granola out of the oven 1 or 2 minutes before you think its ready—it will continue to cook even after removed, and you don’t want granola rocks.

IMG_4197

This granola came together in under five minutes and was delicious both dry and with milk.

It also managed to get me out of bed every morning for a week…which is nothing short of a miracle.

In other words, please go make this.

Before pumpkin falls out of favor (so punny Smile).

Before you pour that second bowl of Lucky Charms.

Before you’re inclined to go asked Justin Timberlake who’s bringing sexy back.

Recipe: Orange-Yogurt “Tyler Place” Pancakes

IMG_4193

I woke up this morning and realized that wisdom was finally upon me.

As much as I would like to say I was spiritually enlightened, nothing of that sort happened.

In fact, there’s very little that is enlightening about the fact that as you read this, I’m uncomfortably squirming in a chair while I get my wisdom teeth yanked.

Thanks…I didn’t want that wisdom anyway. In fact, the only thing I really wanted this morning was pancakes.

Problem: Not allowed to eat breakfast before the surgery.

Solution: You can go make them instead. A wise decision, I promise!

IMG_4179

When I was a kiddo, my family used to vacation at a small, family resort on Lake Champlain in Vermont with friends. I can’t remember everything from our trips, but I do remember one thing for sure: I loved it. I loved spending time with my family and hanging out with kids my age, playing games, swimming in an amazing indoor pool, and laughing and running around like a maniac, swimming in the lake, and enjoying some really darn good food.

Oh the food. The “kids’ food” was good, but the “grown-up food” was swoon-worthy. Intricate and gourmet but still home-cooked and prepared with love.

In truth, I don’t even remember all of the food. But I do remember the pancakes.

IMG_4180

Ah yes, the pancakes. As if breakfast/brunch wasn’t already my favorite meal, they hooked me in with pancakes. And not just any ordinary pancakes—orange-yogurt pancakes. Heaven on a plate.

A few years later, we stopped going to Tyler Place due to a combination of factors. It was expensive, and my parents wanted to travel elsewhere once we were older.

IMG_4188

Tyler Place faded into my memories, and everyone forgot about those delicious pancakes. Until one morning.

I came downstairs to my dad buzzing around the kitchen, a sly grin on his face. Minutes later, I was greeted by a strangely familiar sight: Tyler Place Pancakes.

One bite sent me straight to pancake nirvana, and I quickly consumed my weight in those fluffy cakes. They’re easily my favorite pancakes and probably the favorite of everyone else in my family as well.

Divine. Moist. Dense, yet fluffy with a hint of orange. Always lovingly filled with memories of childhood summers.

IMG_4190

Tyler Place Orange-Yogurt Pancakes

These pancakes will forever remind me of their namesake—Tyler Place, a family resort located on the banks of a lake in Vermont. Unlike their buttermilk or blueberry counterparts, these orange pancakes get a perfect hint of fluffiness from the combination of baking powder and soda, while remaining incredibly moist and dense due to the yogurt. If you’re a pancake aficionado like myself, these pancakes are simply a must. Perfectly acceptable for breakfast, lunch, dinner, or really, anytime.

Adapted from Tyler Place

Serves 4

Ingredients:

  • 2 tbsp fresh orange zest
  • 4 tsp sugar
  • 3/4 cup orange juice (fresh squeezed is a must, even if it means juicing 1 orange)
  • 1 1/2 cups nonfat plain yogurt
  • 2 large eggs (Don’t use a vegan sub. These pancakes really benefit from the eggs)
  • 3 tbsp melted butter (or margarine)
  • 2 cups all purpose flour
  • 2 tsp baking soda
  • 1 tsp baking powder
  • 1 1/2 tsp salt

Directions:

1) Combine orange zest, yogurt, eggs, sugar, orange juice, and butter in a large mixing bowl. Beat until well-combined.

2) In another bowl, sift together flour, baking powder, and salt. Add yogurt mixture, and stir well just until a smooth batter forms. Do not overmix!

3) Heat a griddle and cook pancakes, flipping once each side is golden brown.

IMG_4176

I can just about promise these pancakes will not disappoint. No wisdom required.

Think of somewhere tropical, somewhere homey, somewhere warm and comforting when you eat them. Think of Tyler Place or Dad or Sunday mornings. Or think of me, wriggling around like a Mexican jumping bean and hoping you like these pancakes.

Yes, do that. And cross your fingers and hope that I don’t come back looking like too much of a chipmunk..

At least I’ll still have my sarcasm teeth Open-mouthed smile