Recipe: Healthier Pecan Pie (and no corn syrup!)

This pecan pie was pretty darn good, if I do say so myself. With a perfect ratio of nuts to filling and filling to crust, the pie was a crowd-pleaser for sure in our house. And by that, I mean it disappeared within two days.

I guess we just can’t shut our pie holes. Open-mouthed smile

IMG_1580

When I first entertained the idea of making a pie (a rare occurrence considering I don’t much care for pie), I had a hard time deciding which flavor.

Fruit? Ewwwwww. I am not a fan of gloppy, cooked fruit.

Pumpkin? I wouldn’t mind, but I knew everyone else would think it out of season.

Banana or Coconut Cream? Again, not my thing whatsoever. Blake would probably love a banana cream pie though.

Eschewing the weirder flavors (mincemeat…), I decided on pecan. My whole family likes it, and I was not adverse. (Especially considering my love for nuts and nut butters!)

Pecan it was!

photo 3 (3)

Of course, I had a few requirements.

1) No corn syrup – Whether or not corn syrup is truly bad for you, I don’t know. However, being that it is still considered controversial in the food world, I decided to steer clear. When pecan pie was invented, corn syrup wasn’t involved, so I knew it was do-able.

2) Healthier than the average pie – True to the nature of my love for health/nutrition (and this blog!), I wanted to make this pie a little healthier without sacrificing taste. I made the following adjustments:

  • no lard in the pie crust
  • nonfat sour cream instead of regular
  • unbleached flour
  • no corn syrup in the filling
  • whole wheat flour in the filling
  • molasses in the filling for a boost of flavor + minerals

I also used almond milk in the filling because I figured the subtle smooth nuttiness would compliment the pecan flavor well.

IMG_1571IMG_1572IMG_1573IMG_1576

Summer Pecan Pie

I’m not generally a pie person, but this pie is good stuff. An intricately flavored molasses filling and warm, toasty pecans add a wonderful depth to the pie, while the flaky crust serves as a great canvas. Sweet and buttery without being too rich, the pie is perfect for a night at home or a summer gathering. Even better, there is no corn syrup or other icky additives!

Ingredients:

Crust 2 cups flour 1/2 cup butter, very cold and cubed in small pieces 1/4 cup nonfat sour cream, heaping 1/4 tsp salt

Filling 1 cup brown sugar 2 tbsp white sugar 2 tbsp molasses 1/3 cup butter or margarine, melted 2 eggs 1 tbsp whole wheat pastry flour 1 tbsp almond milk 1 tsp vanilla extract 1 cup pecans, chopped extra pecans (for garnish), optional

Directions:

Crust

  1. Before you begin, make sure you’re butter is very cold. Cut butter into flour with a knife, fork, or pastry cutter. Continue incorporating butter into flour, working quickly until a coarse sand-like texture is formed. (Note: Do NOT melt butter into the flour mixture.)
  2. Place mixture in the freezer for 10 minutes.
  3. Remove bowl from freezer and pour contents onto a wooden cutting board. Using a rolling pin, roll the butter into the flour—beginning to form a dough with the flattened butter.
  4. Then, add the sour cream and continue rolling to form a ball. The dough ball should be moist but not wet. If necessary, you can add a little bit more flour, until this consistency is reached.
  5. Return the dough to the freezer for 20-30 minutes.
  6. Take the dough out of the freezer, and roll out into a circle, roughly 10 inches in diameter (to fit your pie pan).
  7. Take circle and fit it in a greased pie pan, crimping the edges if desired.
  8. At this point, you can return the dough to the freezer and save for later use or proceed with the recipe.

Pie

  1. Preheat oven to 400 degrees.
  2. In a large bowl, whisk eggs until foamy. Stir in melted butter, brown sugar, white sugar, molasses, and vanilla. Whisk again until even mixture is formed.
  3. Add the milk, flour, and pecans. Again, stir until thoroughly combined.
  4. Pour filling mixture into unbaked 9 –inch pie shell. Garnish with extra pecans, if desired.
  5. Bake in preheated oven for 10 minutes at 400 degrees, then reduce the temperature to 350 degrees and bake for 30 minutes.

IMG_1577

Now if you’ll excuse me, I’m going to go shut my pie hole, so I can a) go do hot yoga and b) you can go make this. Smile 

Happy Memorial Day!
Recipe: The Best Banana Bread EVER. Period.

Somewhere, in the dark depths of my mom’s recipe stores, there sits an old, yellowed notecard. In my mom’s borderline-indecipherable handwriting, the words, “Beth’s Friend’s Banana Bread” are scrawled across the top. I have no idea who Beth is. And I most certainly don’t know Beth’s friend.

What I do know, however, is that she made some KILLER banana bread.

The best you will ever taste.

IMG_4167_new

Mother dearest has been baking this recipe for as long as I can remember. Both she and Dad are wonderful cooks, but this wonderfully moist loaf of banana-y goodness is, arguably, her specialty. In fact, she keeps that old yellow notecard lovingly tucked in the “B” section of her recipe box, but I can’t remember the last time she used it. Even amidst working full-time and raising a family, she manages to know by heart how to make the best banana bread known to man.

Of course, Mum also had time made time to teach me the “secret family recipe.” Toddling around the kitchen, I would ask her, “Mumma, when are you going to make banana bread?”

IMG_7558_new

She would respond, “As soon as the bananas are really ripe. Want to help me?”

So brother and I would wait, getting excited when we finally saw the tell tale sign—3 dappled bananas, deep golden yellow with kisses of black.

Soon after, we’d be fighting over the last lick of batter, while we willed 70 minutes to go by faster. And then, magic: warm banana bread with a crispy gold-brown crust and sweet, luscious interior. Devoured, without fail, within 24 hours.

IMG_7535_New

As soon as I learned how to bake and use the oven, I made a point to make Mom’s banana bread. (Actually, it may have been the first thing I ever baked?!). To this day, I still make her banana bread, both for family at home and friends at Georgetown. Regardless of where or when I make the bread, it never seems to disappoint.

And regardless of how many times I make it, I still think of that yellowed notecard, of Beth, of Beth’s friend, and perhaps most importantly, of Mom and I making banana bread together.

IMG_7536_new

The Best Banana Bread Ever (a.k.a Beth’s friend’s Banana Bread)

My mom has been making this bread for as long as I can remember for good reason—it never lasts more than a day in our house. Always a huge crowd pleaser, this banana bread is sweet but not too sweet and seriously addictive. The addition of walnuts adds a perfect crunch that I (as well as Mom) highly, highly recommend. I’ve never found a better b-bread, and I doubt I will. If you’re still on the hunt for that illusive “best banana bread ever, I recommend giving this one a go!

Adapted from Mom’s banana bread recipe

(Can be gluten free, vegan, and whole-grain)

3 large (or 4 small) overripe bananas (the blacker, the better)

1/2 cup sugar

1 egg [Note: To make this vegan, try using 1 flax egg or 1/4 cup pureed silken tofu]

1/4 cup melted butter (or margarine, vegan is fine)

1 1/2 cups flour [Note: See comments below for GF/whole grain option.

1 tsp baking soda

1 tsp salt

1/2 cup walnuts, chopped

Directions:

1) Preheat the oven to 325 degrees, and grease a 9x5 loaf pan.

2) Mash the bananas in a bowl with a fork, ricer, or potato masher until smooth. Some small lumps are okay. Beat in sugar, egg, and butter/margarine

3) Whisk in flour, baking soda, and salt, stirring until just combined. Fold in chopped walnuts. Pour batter into loaf pan. Bake for 70 minutes, testing doneness with a toothpick.

Easy as 1-2-3!

…But just incase that was too much for a Wednesday, let’s learn how to make banana bread old school—just like how Mom showed me.

Grab a bowl. You want it to be fairly big so you can properly smush all the bananas.

IMG_4524

Using a fork, ricer, or potato masher (my four-year-old self’s personal favorite), smush the bananas until smooth. Got a few lumps? No problemo. This is art, not science.

Add in all da wet stuff. Feel free to use an egg substitute and vegan margarine/buttery spread instead, if that’s how you roll. With only 1/2 cup of sugar, we can call this a healthy-ish endeavor.

IMG_7949

Now for the dry ingredients. Mix in the flour, baking soda, and salt until everything is well-combined, but don’t overmix. Mom always used regular AP flour, but if you’re looking for a gluten free or whole-grain option, try using oat flour.The result will be slightly more dense and grain-y but not in a bad way. If this is your first time making it, I’d recommend trying the AP flour, just so you can try Mom’s traditional recipe.

IMG_7936

Fold in the walnuts. You could skip this, but the nuts really add an extra oomph to this bread. Do you really want to miss out on oomph? Didn’t think so.

Bake at 325 degrees for 60 minutes. Resist the urge to peak. That’s Dad’s job.

Enjoy!
This Stuff Will Change Your Life – Recipe: Walnut Butter

IMG_7924 You think I’m kidding…………..

But I’m not.

This stuff is like crack. Only better.

Why are we talking about drugs? Let’s talk about walnut butter.

It’s easy. Like super dee duper easy. There’s blades involved, so leave the kids at home for this soiree. That means more crack for you anyway.

The story begins something like this.

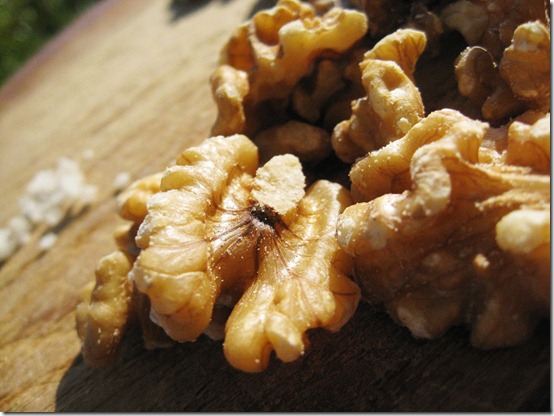
IMG_7936

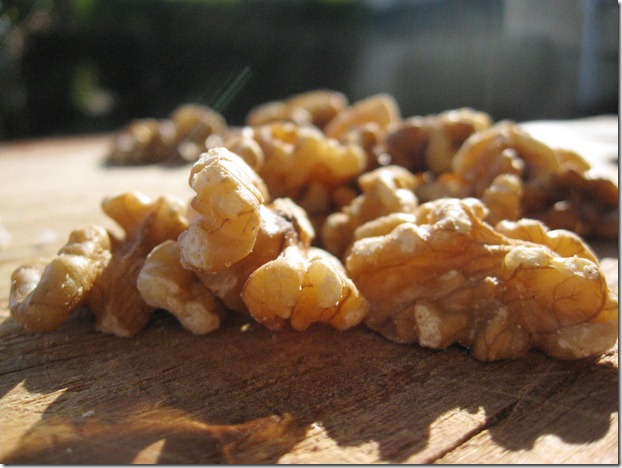
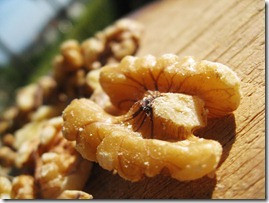
Walnuts. Get ‘em from Costco or a bulk bin or online or from the walnut dealers in the back alleys. Just get ‘em, and I won’t ask questions. Kay?

IMG_7931

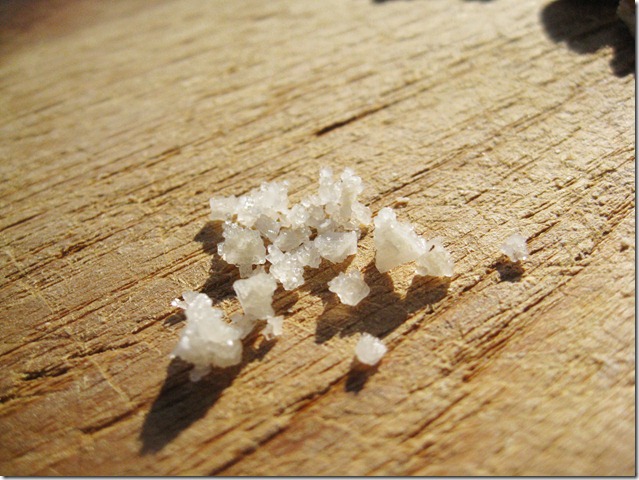
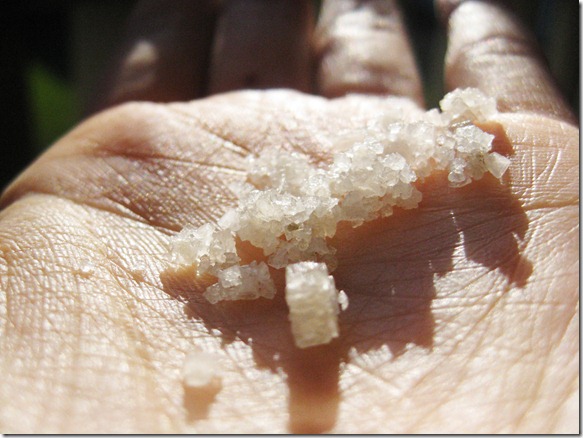
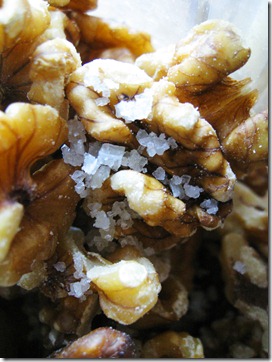
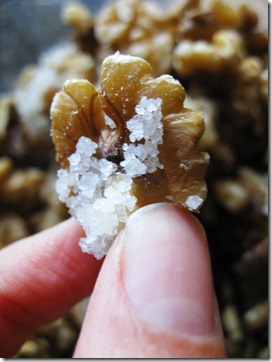
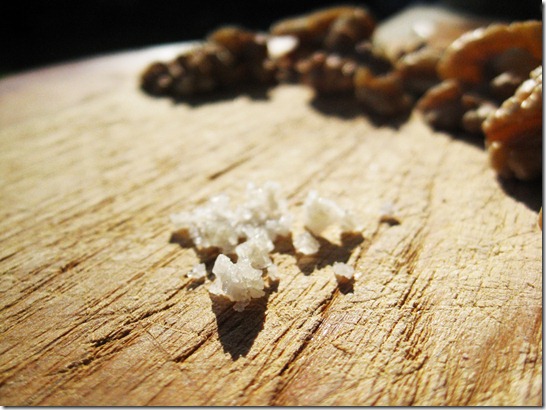
Now, onto the salt. Move over sugar, there’s a new lover in my life. Look at those pearly whites.

Can we have some honest dialogue about salt? It’s important.

IMG_7935

I know it’s tempting to use regular ‘ole salt—like the kind that comes in Big Gulp-sized containers, but please don’t. You’ll break my heart.

This isn’t even food snobbery; this is me telling it like it is. Plain table salt will make your beautious nut buttah taste kinda like well, crap. We don’t want that. Crap is already plentiful enough in this world anyway.

You don’t have to buy salt that is worth more than diamonds, just something a little classy.

IMG_7928

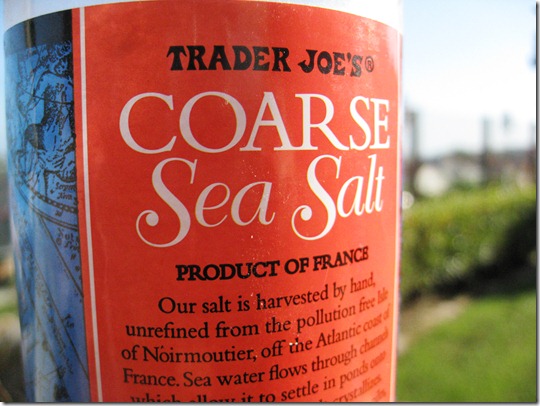
I went with Trader Joe’s coarse sea salt. Apparently it’s from off the Atlantic coast of France. Buttttt, I wouldn’t worry too much about that.

If you prefer mountainous salt not from Europe, that’s none of my business.

All I ask is that you try to get the good stuff.

IMG_7932

Please? Do it for me.

IMG_7937

Okay, now grab your walnuts and salt.

IMG_7929IMG_7926IMG_7939IMG_7940

Take a deep breath. And get ready for this WILDDDDDDDD ride.

Nothing (or should I say nut-thing?) but smooth sailing from here.

IMG_7955IMG_7953

Walnut Butter

This stuff is magical. Like all your dreams came true in one fell swoop. Somehow, the simple combination of walnuts and some good (sea) salt makes for an absolutely euphoric combination. The walnuts impart a buttery flavor and velvety smooth texture, while the sea salt provides an intricate end note. Let’s just call it peanut butter’s sophisticated older sister.

Yield: 2 cups walnut butter

Ingredients:

3 cups walnuts

3/4 tsp coarse sea salt or 1/2 tsp fine sea salt (USE GOOD SALT!)

Directions:

  1. In a food processor or high speed blender, add the walnuts and salt.
  2. Process for 10-15 minutes, scraping down the sides as necessary.
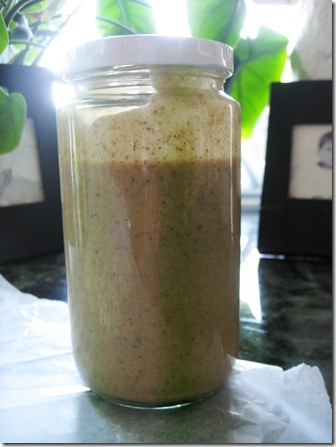
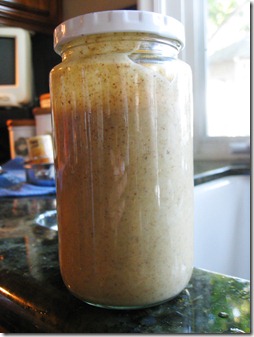
  3. Pour nut butter into a jar and refrigerate.

It really doesn’t get much easier than that, but just in case you’re feeling frisky today, how about a little photo tutorial?

IMG_7951

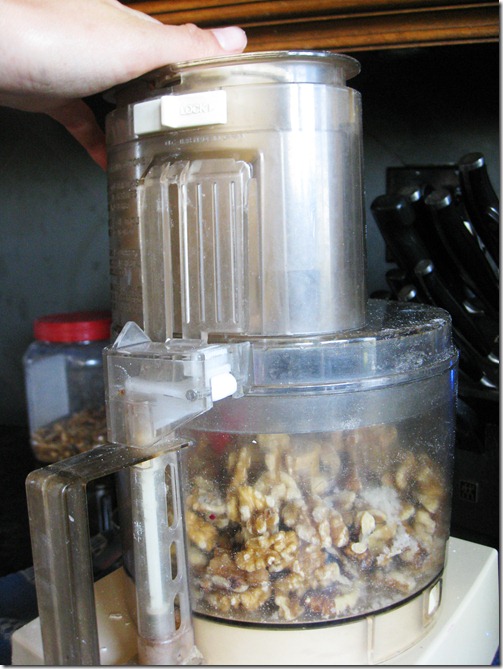
Combine nuts + salt in your food processor.

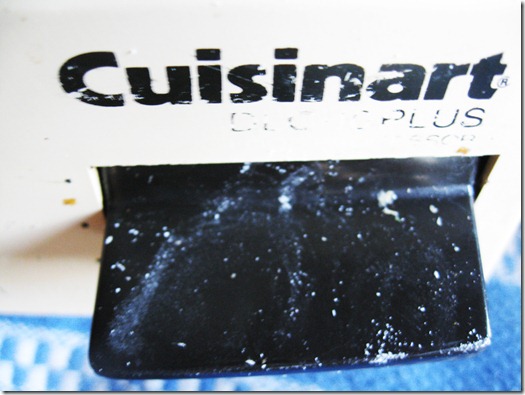
I use a Cuisinart that might as well be classified as a “dinosaur.”

(P.S. I still love you, Dino.)

IMG_7957

Can’t you almost make out the word Dino? At least it’s a plus…

I digress. I need to get my priorities straight.

IMG_7956.

Snap on your lid, and start the blending.

Wheeeeeeee..kinda like a county fair ride that would make you puke.

Sorry, bad visual. Like I was saying…

IMG_7958

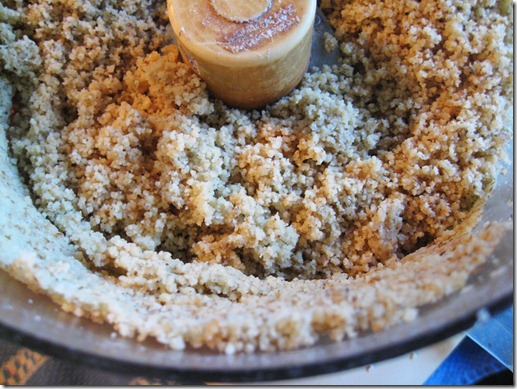
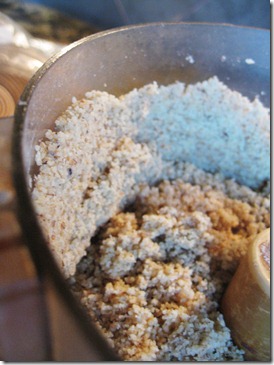
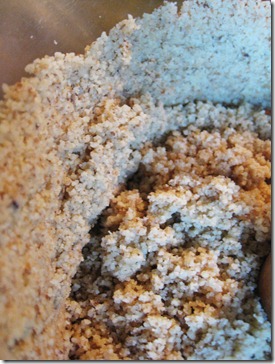
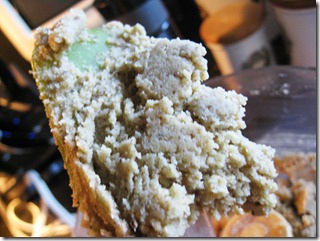
After a few minutes, it begins to look really crumbly.

IMG_7962

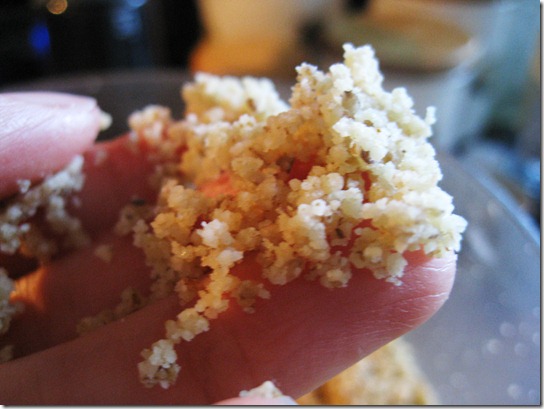
Similar in texture to wet sand. Only much better tasting.

IMG_7959IMG_7960

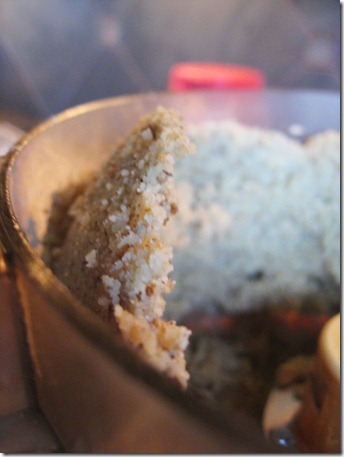
As you continue to blend, the nut butter may start to climb up the sides. Just stop processing for a moment and scrape down the sides before continuing to blend.

IMG_7965IMG_7966

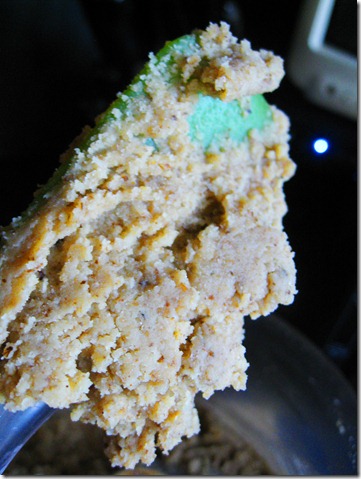
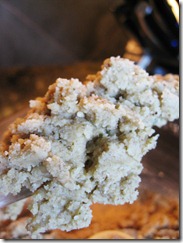
In the next few minutes, it should begin to look a lot like cookie dough.

Did someone say COOKIE DOUGH?!?!!??!!?

That’s another story for another day.

IMG_7969

IMG_7972IMG_7975

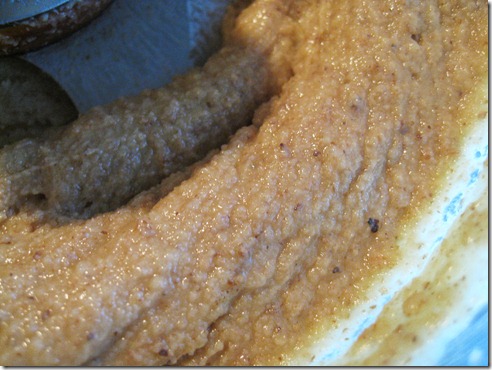
Soon, the butter will get to be more liquid-y but still really thick. Keep chuggin’ along.

IMG_7980

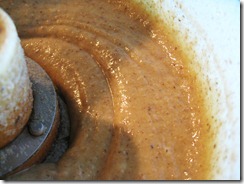
At last, you’ll start to get a smooth-ish consistency. You’ll be tempted to stop and to ignore these very words, but trust me, keep going. The nut budd-uh will thicken when placed in the fridge.

IMG_7983IMG_7987IMG_7991IMG_7997

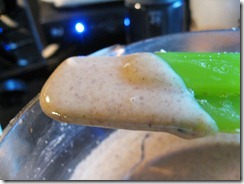
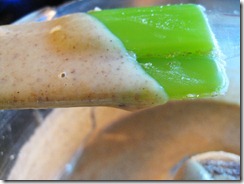
Finally, it should come to a semi-drippy consistency. For me, this is perfect for drizzling over oatmeal or a sweet potato, but if you’d like it a bit thicker, stop a couple minutes early.

Now for the best part—licking the food processor!
Don’t look at me like that. I know you’ve done it (or at least thought about it) too.

IMG_8000IMG_8002

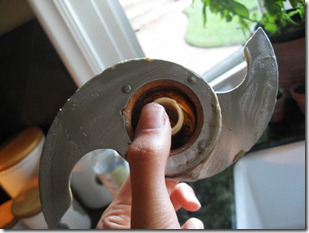
Just please, for the love of the world, do NOT leave the blade in.

I don’t think insurance covers “food processor incidents.”

IMG_8007IMG_8003

Whew, what a marathon post. If you’re still reading this, I have two things to say to you:

1) Kudos for making it all the way here!

2) Stop reading this, and go make walnut butter already. Top one of these with a spoonful and die of the euphoria.

It’s pretty much life-changing.

You still think I’m kidding…………………..but I’m not.

You can thank me later. Smile

Recipe: Here Comes The (Bagel) Sun

Dear real breakfast food,

IMG_4300_new

I missed you too.

IMG_4305

Where I live, there is a bagel shop like no other. For years, people told me that I could find better bagels in somewhere like New York or Philly or Jersey or Washington D.C.. But after trying bagels from all over the county, I can say with confidence that these bagels are the BEST. Of course, I’ll never pass over a good bagel, but I think it’s safe to say that I’ll never find a bagel better than that of “I Love Bagels.” (Yes, that’s the name of the shop.)

IMG_4307IMG_4306

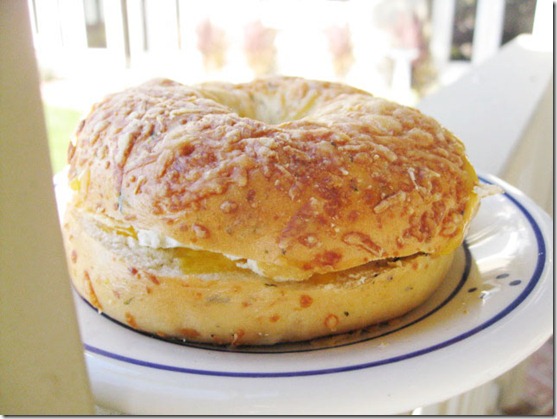
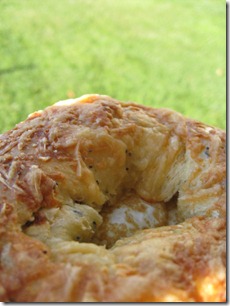
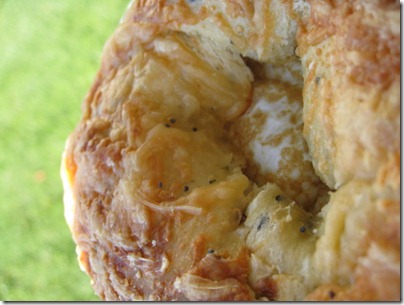
The shop opens at the crack of dawn every morning and serves everything from standards like plain bagels and bagel sandwiches to gourmet flavors like spinach-parmesan (the one pictured), french toast, and even pumpkin during the fall months.

Most people tend to order one or two bagels with cream cheese or a bagel sandwich, but my family has always opted to get a “Bakers’ Dozen”—13 bagels in a big, crinkly white bag. Perfect for satisfying your fickle bagel consumers like me who want a bite of every flavor. Perfect for freezing for weekday breakfasts. Perfect for making your own gourmet bagel creation.

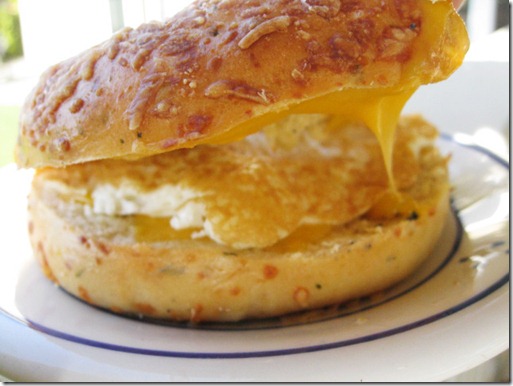
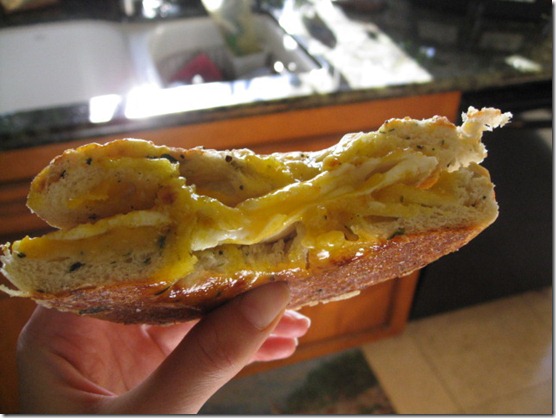
Kinda like this one. Here comes the sun doo doo doo doo…and I say, it’s alright!

IMG_4317

Simply Perfect Egg & Cheese Bagel Sandwich

I feel almost silly calling this a “recipe,” but I’m typing it out just incase some people have never ventured into the world of sandwichin’ glory. Dress this up with fancy cheese, mushrooms/onions, or perhaps even bacon if that’s your style. Or just eat a simple sunny morning meal, and call it a day. Either way, you’ll be in heaven.

You’re gonna need:

1 bagel (if you’re in Southern California, only I Love Bagels will do), sliced in half

1 egg

1 thin slice cheese (or ~2 tbsp shredded cheese or cheese spread)

butter/margarine (optional)

salt & pepper

Directions:

1) Cut bagel in half through the middle to create two circular halves.

2) (Very) Lightly spread halves with butter/margarine, and lay cheese slices/shreds on top. Place in toaster over for about 2 minutes.

3) Meanwhile, heat a small frying pan, and cook egg (I did mine over-easy). Remove bagel from oven and egg from pan. Place egg on top of bagel + melted cheese. Season with salt and pepper. Enjoy!

Tip: After going to the bagel shop, we freeze all the leftovers instead of leaving them out on the counter or in the fridge. This keeps them fresh longer. When you want the bagel, defrost in the microwave for about 1 minute and 30 seconds. Presto! Good as new Open-mouthed smile

Post-toaster oven:

IMG_4300

IMG_4298

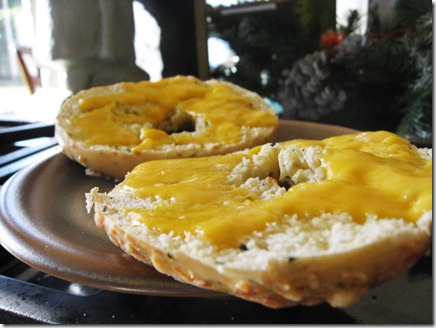
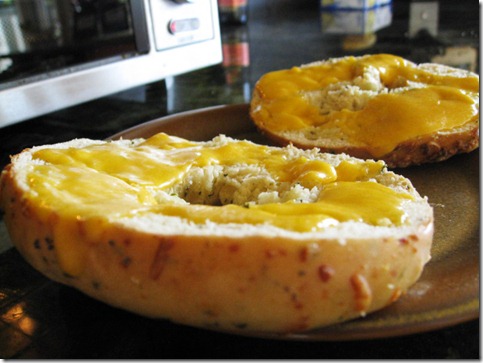
Just a lil ooey gooey melted cheddar to start the day. Nothing fancy here folks.

IMG_4303

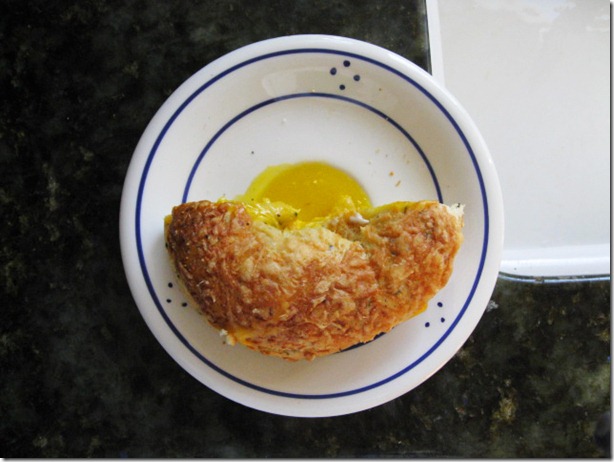
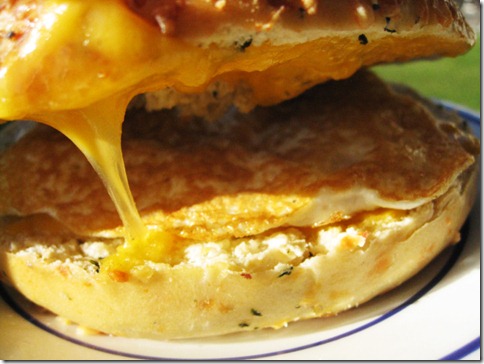
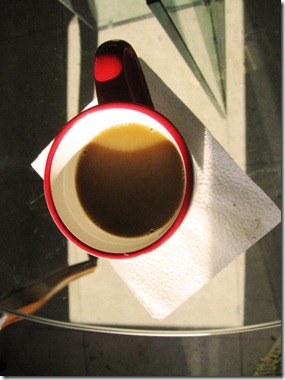
Golden deliciousness with a cuppa Santa-adorned coffee.

IMG_4313IMG_4312

IMG_4309

IMG_4316

A perfect lazy morning.

Have a wonderful day Smile

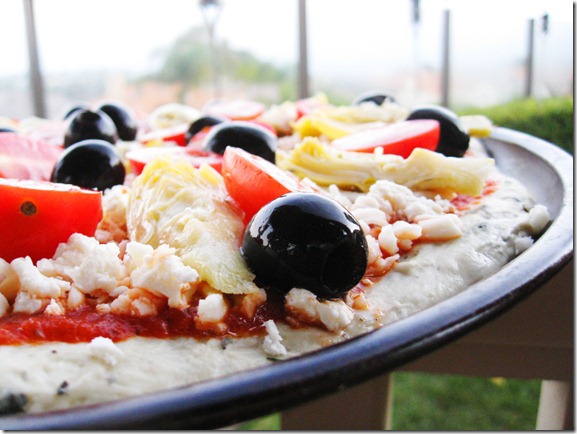
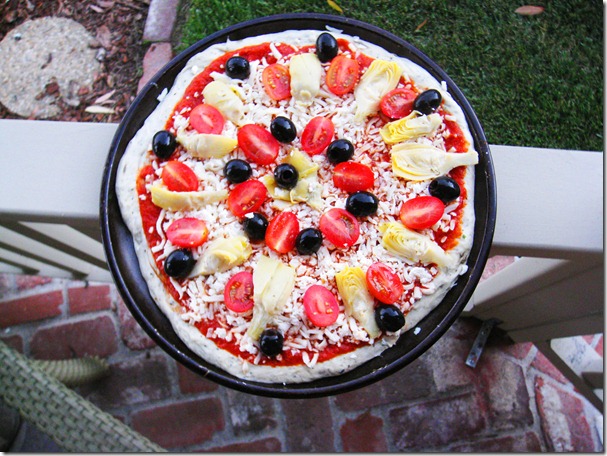
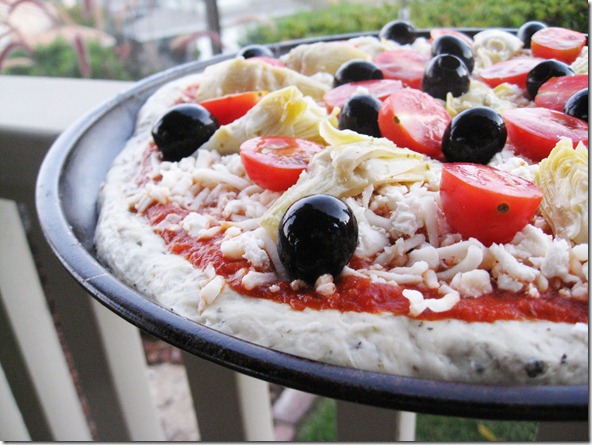
Recipe: Mediterranean Dreamin’ Pizza

IMG_7902_new

I love pizza. Like really, really love it. Because I tend to prefer crazy, out-there, and somewhat exotic foods to mainstream foods(burgers, chicken fingers, grilled cheese), that might surprise you. But the thing is, I don’t just like any pizza.

IMG_7903_new

Dominoes? Meh, the cardboard box probably tastes better.

Georgetown Dining Hall (a.k.a. Leo’s)? Burnt crust.

Tuscany’s in DC? Whatevs.

Pizza Paradiso (in DC)? Too pricey for what you get.

IMG_7906_new

But homemade pizza is different. It’s customizably delicious, and I’ve taken to craving it whenever I’m away from home. As a family, we’ve made everything from Pear & Gorgonzola, Thai Peanut Chicken, and BBQ Chicken varieties a la California Pizza Kitchen. But prior to this Mediterranean pizza, we mainly stuck to copycats. Then, this pizza came along. It was a game-changer.

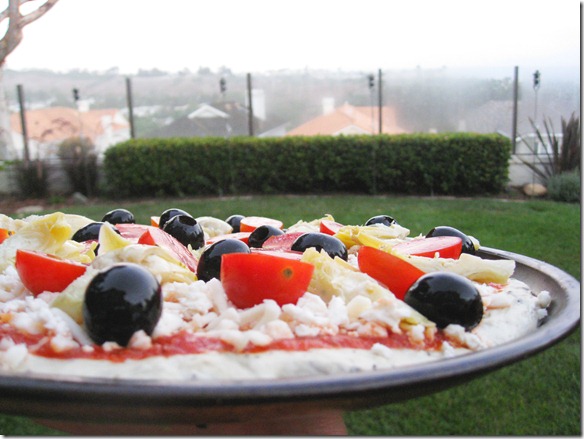
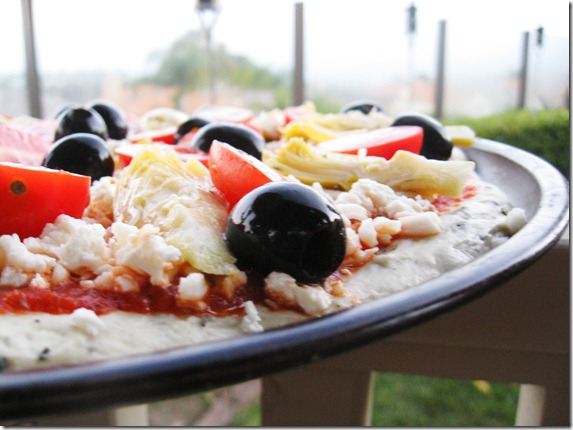
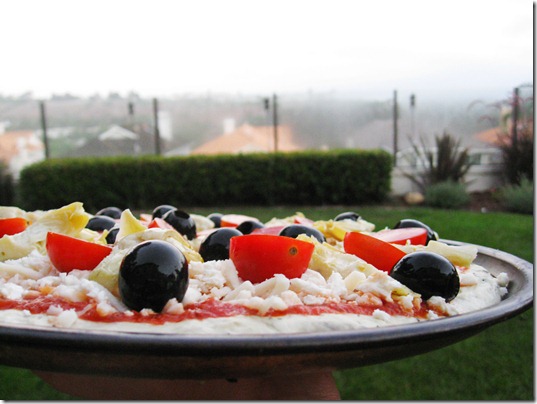
It doesn’t sound all that exotic, but something about the combination of flavors—olives, artichokes, cherry tomatoes, and fresh pesto—takes things to a whole ‘nother level.

IMG_7900_new

Like other homemade pizzas, there is some prep time involved, but don’t be daunted—the end result is worth it.

We use Trader Joe’s Herbed Pizza Dough because a) it saves time and b) it’s simply superb/better than any other dough, homemade or otherwise, that we’ve tried. If you don’t have a TJ’s near you, you could try Whole Foods or your regular grocer. Just don’t skip any of the components, including making the homemade pesto. It’s a little time consuming, but oh-so-AMAZINGLY-delicious.

IMG_7901_new

Mediterranean Dreamin’ Pizza

Adapted from the LA Times’ Culinary SOS on Café del Ray

I’ve tried my fair share of pizza—both in restaurants, from take out places, and at home—but this one takes the cake. The mixture of the garlicky pesto, melty cheese, salty olives, and sweet tomatoes makes this pizza simply amazing. While it takes a little bit of time to prepare (like most other homemade pizzas), it has quickly become my favorite!

Ingredients:

1 Trader Joes’s pizza dough (or homemade/storebought if you can’t find this)
2 cups spaghetti or pizza sauce, reduced***

Basil Pesto:
2 garlic cloves
2 tsp pine nuts (toasted)
pinch red chile flakes
2 tbsp parmesan, grated
2 tbsp olive oil
2 cups packed basil leaves

1 cup shredded mozzarella
¼ cup crumbled feta
2/3 cup cherry tomatoes, sliced in half
¾ cup olives
1 small jar artichoke hearts, sliced in half

***For the sauce, we use Prego Heart Smart. Because spaghetti sauce is more watery than pizza sauce, we put it in a strainer lined with a coffee filter for at least 1 hour (or as long as overnight). This drains some of the water from the sauce, resulting in a thicker consistency that will ensure that your pizza doesn’t come out soggy.

Directions:

1) Preheat the oven to 450 degrees. Follow instructions for prepping pizza dough. (For the TJ’s one, we take the dough out of the fridge and let it rest on the counter for 15 minutes before stretching it out onto a circular pan.

2) To make the pesto, place the garlic cloves, pine nuts, chili flakes, parmesan, olive oil, and basil leaves in a food processor. Blend until a smooth paste is formed.

3) On your prepared pizza dough, spread the sauce evenly, being careful to not put too much in the middle. Then, layer pizza ingredients in this order: mozzarella, feta, tomatoes, olives, and artichokes.

4) Bake for 10-15 minutes. Drizzle pesto over pizza before serving.

IMG_7899_New

Recipe: Golden Cornmeal & Blueberry Muffins

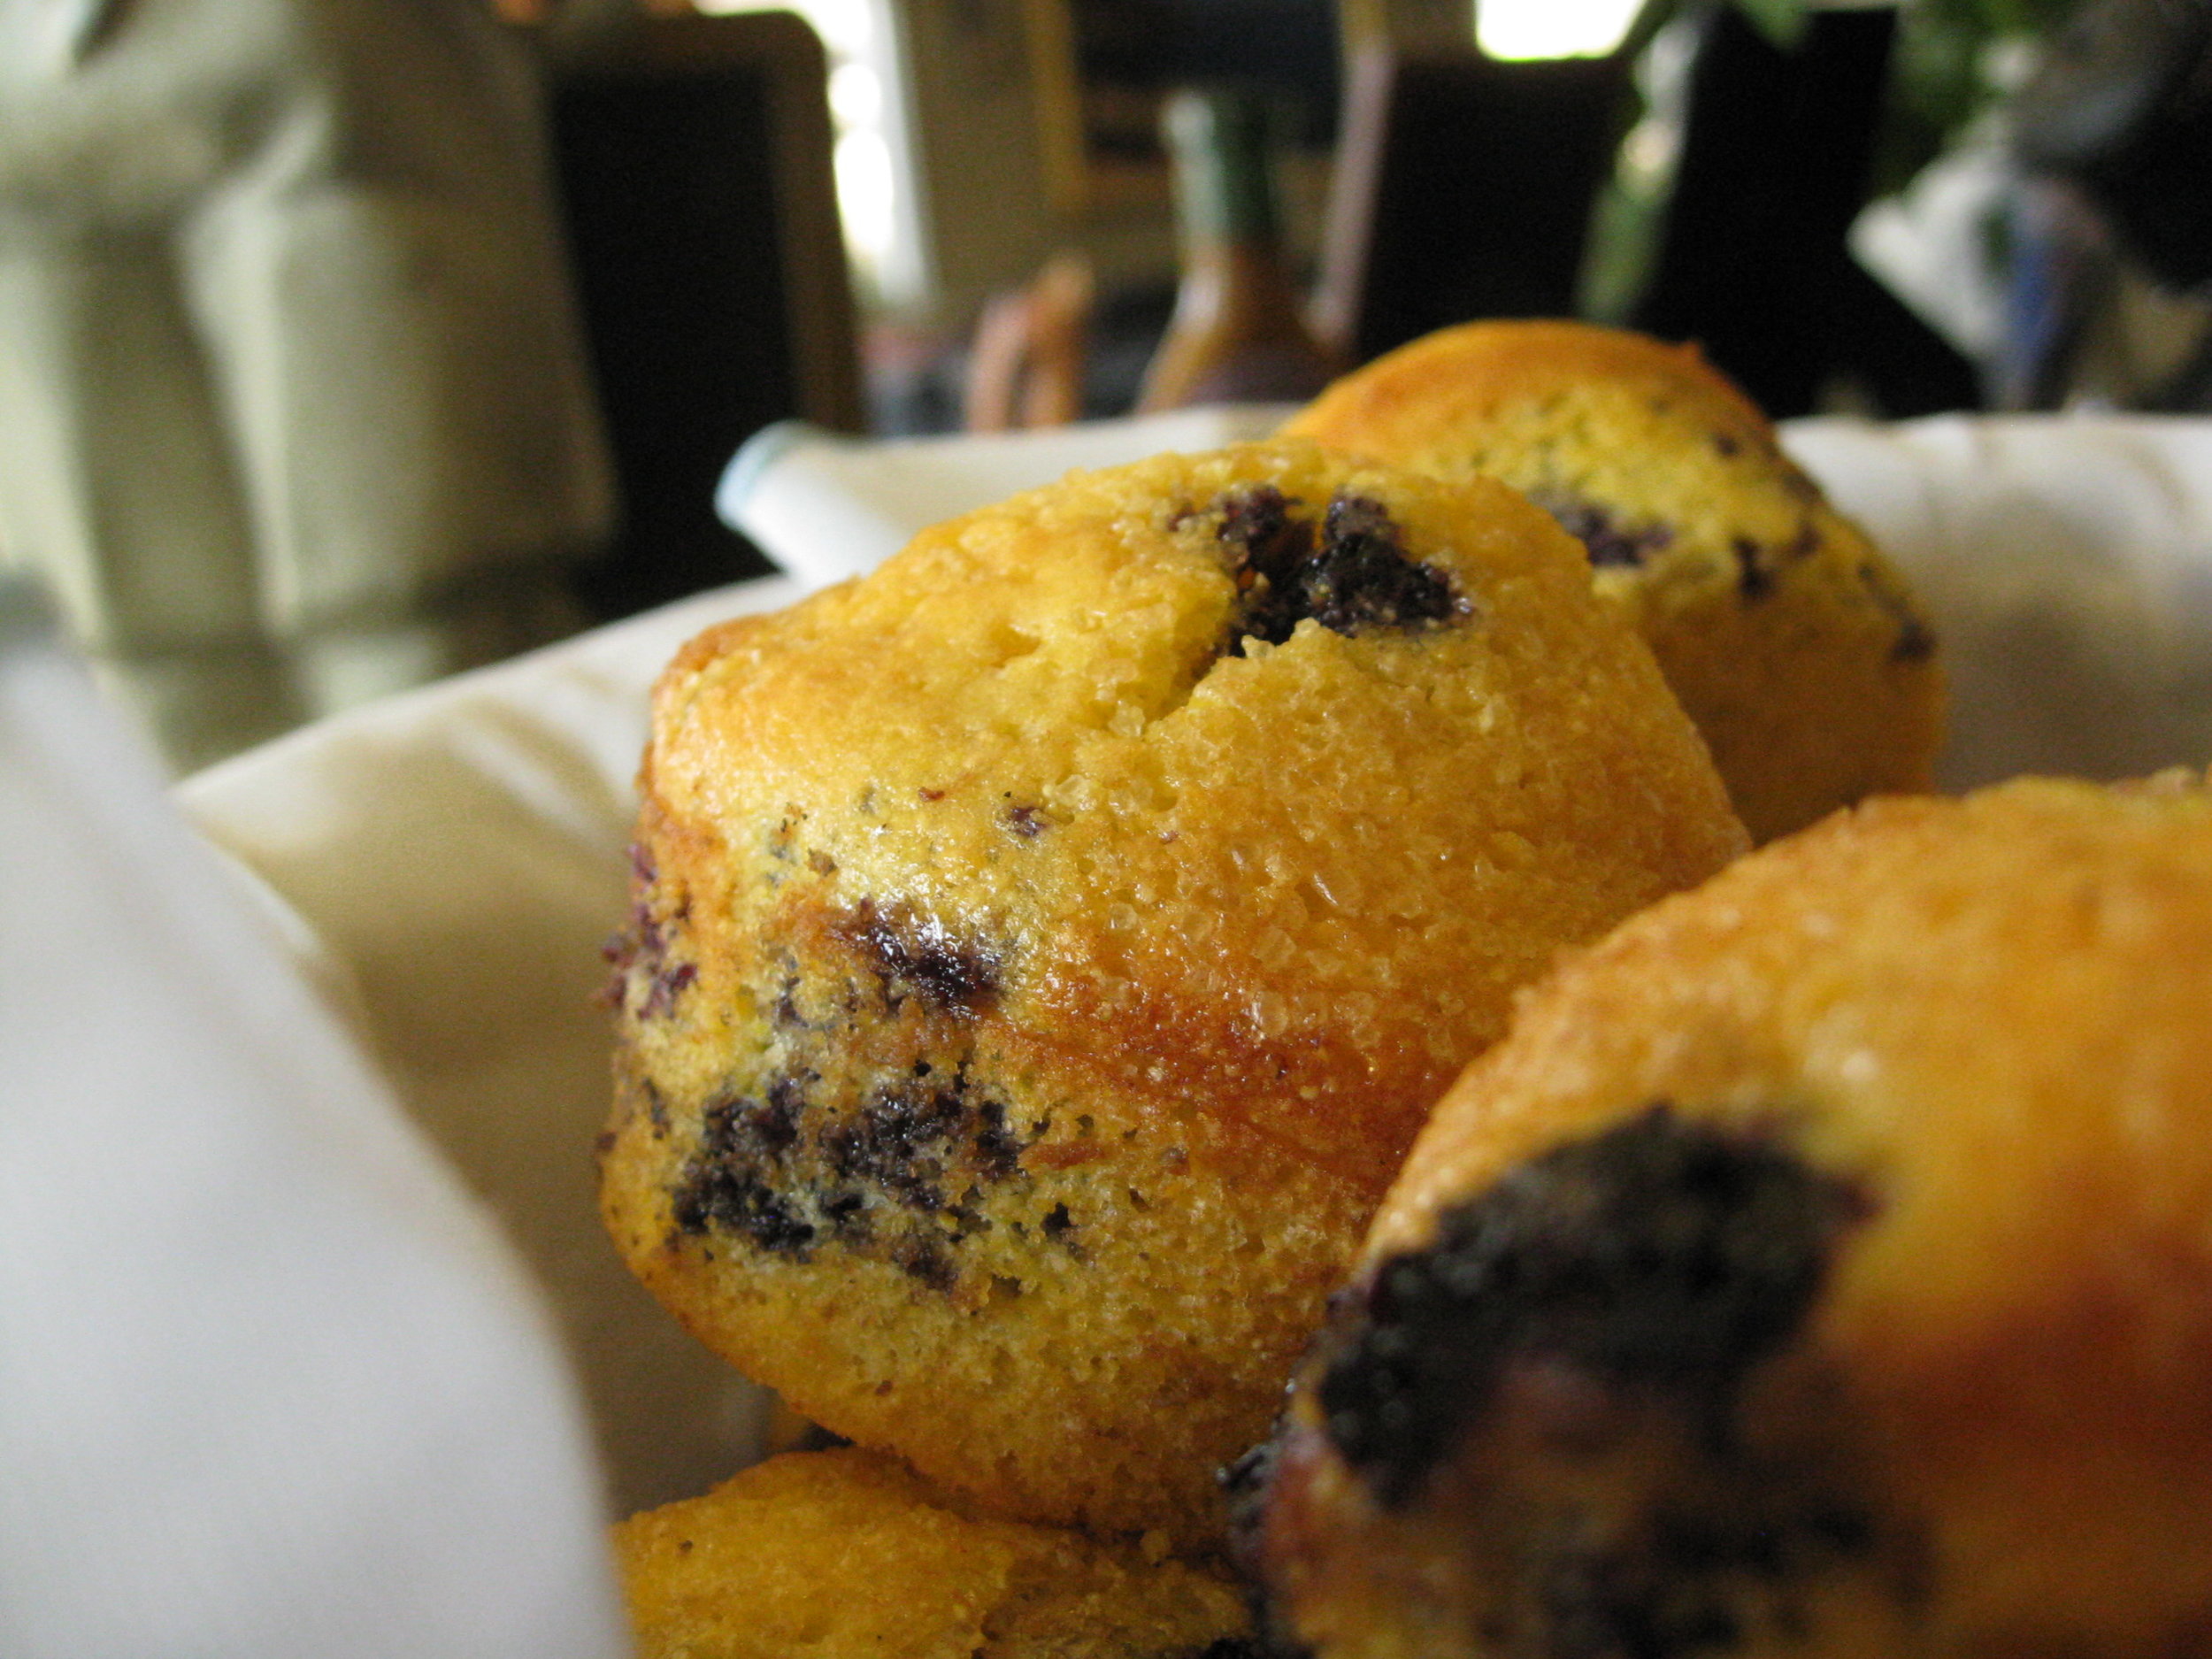
How can you deny muffins like that, folks? I mean, c'mon, this is serious business.

I've made these muffins a few times in the past few years. My first trial was outstanding--possibly some of the best I've ever made--but I haven't been able to make them the exact same way since. That being said, I've never complained about having to eat a blueberry muffin.

No siree. Actually, I hear punishment for such a crime is pretty gnarly..

More muffins?! Tough life.

You can put butter, margarine, jam, lemon curd, or even walnut butter on these babies.

Come to think of it, if you decided to slather your muffin in all of the above, I wouldn't judge. Because I'm not picky like that.

Or perhaps because I did just that this morning.

Oops.

Golden Cornmeal & Blueberry Muffins

These muffins are perfect for any morning. Subtly sweet, golden tender, and crunchy-crispy, with just enough pop from the blueberries to take these from a "Mmm" to a "Wow!"  A cross between a blueberry muffin and cornbread, these babies are classic and homey in that they'll appeal to mainstream eaters who don't like to think they're stepping out of the box. Classic, however, doesn't mean ordinary. These muffs take things to the next level through the use of cumin and orange zest, which combine to hit an extraordinarily unique high note. 

Yield: 11-12 muffins. Adapted slightly from Baking Bites' Blue Corn Blueberry Muffins

Ingredients - 1 1/4 cup unbleached wheat flour (oat flour might work here as well) - 3/4 cup yellow cornmeal - 2 tsp baking powder - 1/4 tsp baking soda - 1/4 tsp cumin - 1/4 tsp salt - 1/3 cup sugar - 1 egg - 1 egg white - 2 tsp fresh orange zest - 2 tsp vegetable oil - 3/4 cup almond milk + 2 tsp vinegar (or buttermilk) - 1 1/3 cups fresh* blueberries

(*You could use frozen blueberries if desired, but fresh seem to  work better here. For whatever reason, they make it easier for the muffins to rise, instead of keeping dense.)

Directions

1) Preheat oven to convection bake at 400 degrees F. (or 425 degrees if you don't have convection). Grease a 12-cup muffin pan.

2) In a medium-sized bowl, combine flour, cornmeal, baking powder, baking soda, salt, cumin, and sugar. Whisk until smooth.

3) In another medium bowl, beat egg and egg white until foamy (this is KEY in getting your muffs light and poofy!!). Add orange zest, vegetable oil, almond milk + vinegar, and beat again until well-combined and foamy. Pour wet ingredients into dry ingredients and gently stir until the mix is smooth and...lump-less..? Let's go with smooth.

4) Fold the blueberries into the mixture, being careful not to break and bleed them.

5) Divide batter into muffin tin. Bake on convection bake at 400 degrees F (or 425 non-convection bake) for 5 minutes. Then, turn off the convection setting and bake for 7-10 more minutes at 400 degrees.

6) Slather with butter, margarine, jam, fruit spreads, or nut butters. Bite into your nugget of golden blueberry goodness. Don't worry, be happy!

The Day 1 Recap for the cookbook challenge should be coming tonight :)

In the mean time, enjoy the rest of your Monday Funday!